Navigation
feedback
![]()
Return to: Home Page Canoeing Pages Routes and Photos Cedarstrip Project
Making Seats (April 2001)
 Sitka Spruce frame pieces for the bow seat (the ruler next to it is 18
inches long).
Sitka Spruce frame pieces for the bow seat (the ruler next to it is 18
inches long).

The stern seat frame.


Carving and cutting out mortise and tenon joints.

Industrial Formulations G2 epoxy was used to glue the frames together.

Sanding cane holes before varnishing (stern seat).
 The varnished and caned seats. Next
time use more care and petroleum jelly at earlier stages of
caning to minimise fraying.
The varnished and caned seats. Next
time use more care and petroleum jelly at earlier stages of
caning to minimise fraying.
Postscript (Oct. 2004):
The seats were removed after the first season. I was playing at Palmer Rapids one day and tore the bow seat out during a spill. It turned out not to be such a bad thing because I wanted to raise the seat height and move the bow seat closer to the centre for solo tripping, and to remove the stern seat completely because I rarely used the canoe for tandem paddling and wanted to minimise weight.


The bow (or solo) seat cracked during the mishap so it was epoxied.
 A groove was also cut out of the bottom and a maple support piece was screwed and epoxied underneath
because simply epoxying the crack would not be sufficient to hold my weight. The
repaired seat has held up fine.
A groove was also cut out of the bottom and a maple support piece was screwed and epoxied underneath
because simply epoxying the crack would not be sufficient to hold my weight. The
repaired seat has held up fine.
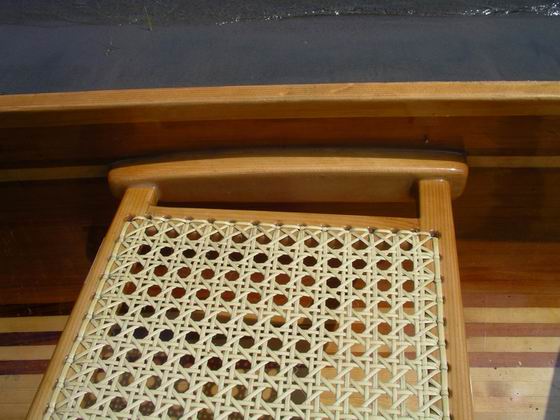
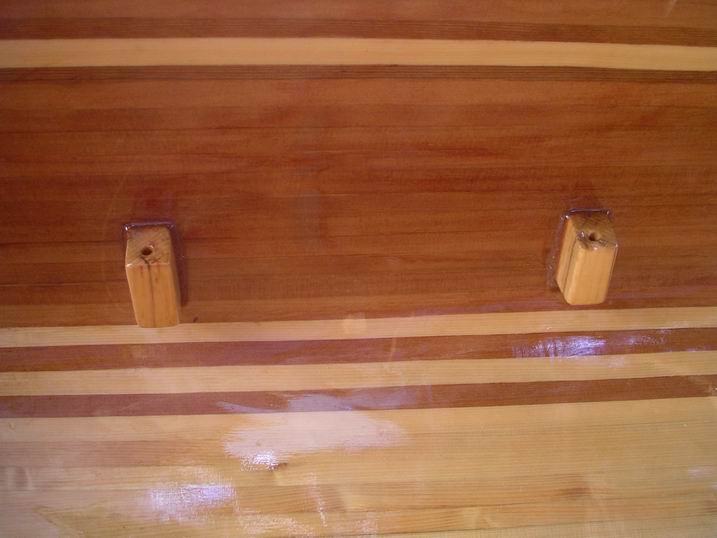
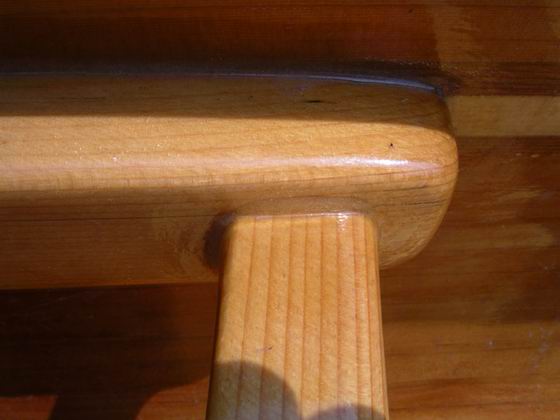 The mounts for the seat were made stronger by cutting
mortise and tenon joints between seat and cleat and the cleats were made larger.
The old seats were simply epoxied to the top of smaller cleats.
The mounts for the seat were made stronger by cutting
mortise and tenon joints between seat and cleat and the cleats were made larger.
The old seats were simply epoxied to the top of smaller cleats.
A small Sitka Spruce thwart, wrapped in fibreglass, was
installed halfway between the centre yoke and decks to improve rigidity after
removing the stern seat. 
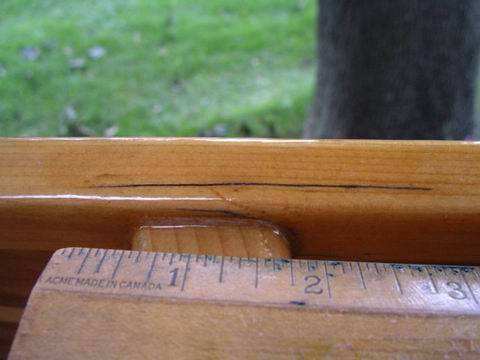 One gunwhale began to crack at this joint,
as
seen on the left. I excavated
the crack and filled it with sawdust thickened epoxy:
One gunwhale began to crack at this joint,
as
seen on the left. I excavated
the crack and filled it with sawdust thickened epoxy:
In the canoe's third season I did more tandem tripping and
did not like the idea of sitting on a pack so I decided to install small cleats for a
removable stern seat. I wanted small cleats that would not add too much weight
but provide sufficient strength to hold my weight. 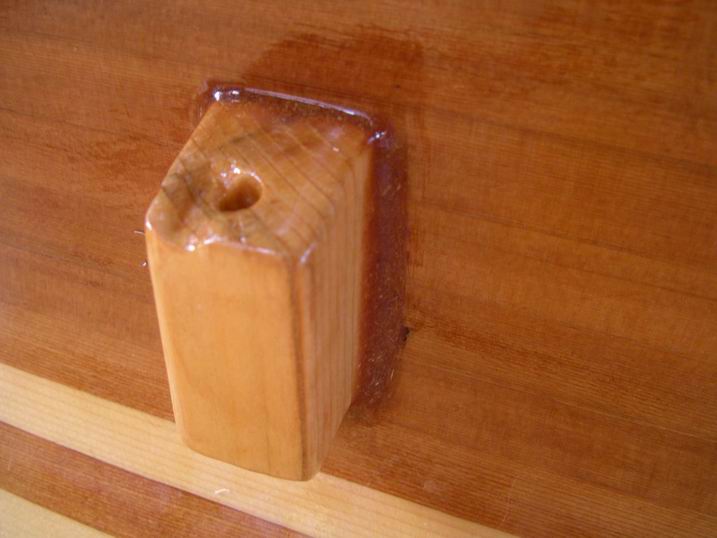
 And
I wanted it removable to minimise wieght portage weight when solo tripping.
cleats in the hope that there
would still be enough surface area to make a strong and lasting bond. The cleats are installed but as of this writing
this new setup
has not been tested on the water. Stay tuned ...
And
I wanted it removable to minimise wieght portage weight when solo tripping.
cleats in the hope that there
would still be enough surface area to make a strong and lasting bond. The cleats are installed but as of this writing
this new setup
has not been tested on the water. Stay tuned ...